A nail extension builder kit in 2025 is no longer reserved for professionals – more and more people are building salon-quality nails at home. Thanks to modern, user-friendly materials and UV/LED technology, you can now create durable, professional results safely and easily from the comfort of your own home.
But how do you choose the right kit? Which lamp should you buy? What’s the difference between builder gel and polygel?
This comprehensive guide will teach you everything you need to know about choosing and using a nail extension builder kit — whether you’re a beginner, an advanced home user, or a newly trained nail tech.
What Is a Nail Extension Builder Kit and Who Is It For?
A nail extension kit is a complete package that includes everything you need to create gel or acrylic-style nails: a UV/LED lamp, builder materials, and all necessary tools and accessories.
Who should buy it?
- Beginners learning to build their own nails at home.
- Intermediate users who already practice regularly and want better-quality tools.
- Aspiring professionals or new nail techs who need a complete starter setup.
Beginner vs. Advanced Kits – What’s the Difference?
- Beginner kits include the essentials: a small UV/LED lamp, a few gels or polygels, a top coat, nail file, and cleaner. Perfect for practice and learning.
- Advanced kits feature a stronger lamp, multiple materials (builder gels, polygels, decorations), and even a nail drill. Ideal for regular, professional use.
Price-wise, beginner kits cost around €60–€90, while advanced professional sets range between €120–€200.

What Should a Good Nail Extension Kit Include in 2025?
A well-chosen kit provides not only the essentials but also ensures safety, durability, and compatibility with modern materials.
UV/LED Lamp – The Heart of the Kit
The lamp cures your gel, so it’s the most critical component.
What to look for:
- Power: minimum 36W, ideally 48–80W.
- Timer: at least 30s, 60s, and 90s modes.
- Automatic sensor: hands-free on/off.
- LED placement: 180–360° coverage for even curing.
- Durability: at least 50,000-hour LED lifespan.
Tip: Always choose a hybrid UV/LED lamp — it cures every type of product (gel polish, polygel, builder gel).
Builder Materials – Gel and Polygel
The two most popular materials for nail extensions are builder gel and polygel (acrylgel). Both are durable and beautiful but behave differently.
Builder Gel Pros:
- Glossy, flexible, salon-like finish.
- Perfect for almond or square shapes.
- Natural-looking and slightly flexible.
Cons:
More fluid consistency – requires practice to control.
Polygel Pros:
- Doesn’t run, easy to shape.
- Beginner-friendly; slower setting time for easier application.
- Easy to file, durable, and strong.
Cons:
Needs filing for removal; not soak-off.
Which to choose?
If you’re new, start with polygel – it’s easier to manage.
If you’re confident, builder gel gives a softer, natural look.

Base, Top, Bonder, Cleaner
- Bonder: promotes adhesion to the nail plate.
- Base coat: protects and improves bonding.
- Top coat: adds shine and seals the nail.
- Cleaner: degreases, disinfects, removes tacky layers.
If your skin is sensitive, choose HEMA-free gel polish or builder gel for lower allergen risk.
Must-Have Accessories
- Nail files: 180/240 grit.
- Buffer block for surface prep.
- Dust brush.
- Cuticle pusher or orange wood stick.
- Nail forms or tips and tip glue.
These ensure clean, precise, and safe work.
Choosing the Right Lamp Step by Step
The lamp is essential for proper curing. Incorrect light or wattage can cause undercuring, which leads to allergies or lifting.
Power and Cure Time:
- 36W – occasional or hobby use.
- 48–80W – regular or professional use, faster curing.
UV vs. UV/LED:
Modern materials are mostly UV/LED-compatible, so hybrid lamps are your best bet.
Always follow the manufacturer’s recommended curing times — never shorten them.
Do You Need a Nail Drill in the Kit?
Not mandatory, but highly recommended for faster prep and refill work.
Recommended specs:
- 20,000–30,000 RPM.
- Low vibration for precision.
- Reversible rotation (for right & left hand).
- Replaceable bits.
Beginner-safe bits:
- Fine cone-shaped ceramic bit.
- Fine cylindrical bit.
Avoid coarse bits on natural nails to prevent thinning.
Comparing Nail Materials
Builder Gel vs. Polygel
| Feature | Builder Gel | Polygel |
|---|---|---|
| Durability | Excellent | Excellent |
| Application | Requires practice | Easy |
| Removal | File-off | File-off |
| Learning Curve | Medium | Beginner-friendly |
| Flexibility | Soft, natural | Stronger, stiffer |
1-Step vs. 3-Step Gel Polish
- 1-step: base + top combined — quick but less durable.
- 3-step: separate base, color, and top — more professional, longer lasting.
For practice, use 1-step. For lasting results, choose 3-step.
Step-by-Step Beginner Workflow
1. Preparation
- Sanitize hands.
- Push back cuticles.
- Gently buff nail surface (180–240 grit).
- Remove dust and wipe with cleaner.
2. Application
- Apply base → cure for 60s.
- Apply builder gel or polygel → shape → cure.
- File and smooth.
- Apply color → cure 60s.
- Apply top coat → cure 90s.
Always follow product-specific curing times.
3. Removal
- Soak-off gels: wrap with acetone foil for 10–15 minutes.
- Non-soak-off gels/polygel: carefully file down the surface — avoid touching the natural nail.
Tip: use a nail dust collector or ventilation mask when filing frequently.

Safety and Hygiene
Some materials can trigger allergies, especially if undercured or in contact with skin.
Allergy prevention:
- Use HEMA-free gels or polishes.
- Avoid touching the skin with uncured product.
- If you feel burning, increase curing time — it may be undercured.
Tool hygiene:
- Disinfect tools after every use.
- Use single-use files and buffers.
- Dust off nails between every step.
- Keep your workspace ventilated.
Common Beginner Mistakes
- Weak lamp → undercured product → lifting or burning.
- Wrong lamp/product combo → gel won’t cure properly.
- Too thick layers → heat spikes or cracking.
- Poor prep → oily nail plate → peeling.
- Over-filing → nail thinning or damage.
Solution: Invest in a quality lamp, follow product instructions, and practice gentle technique.
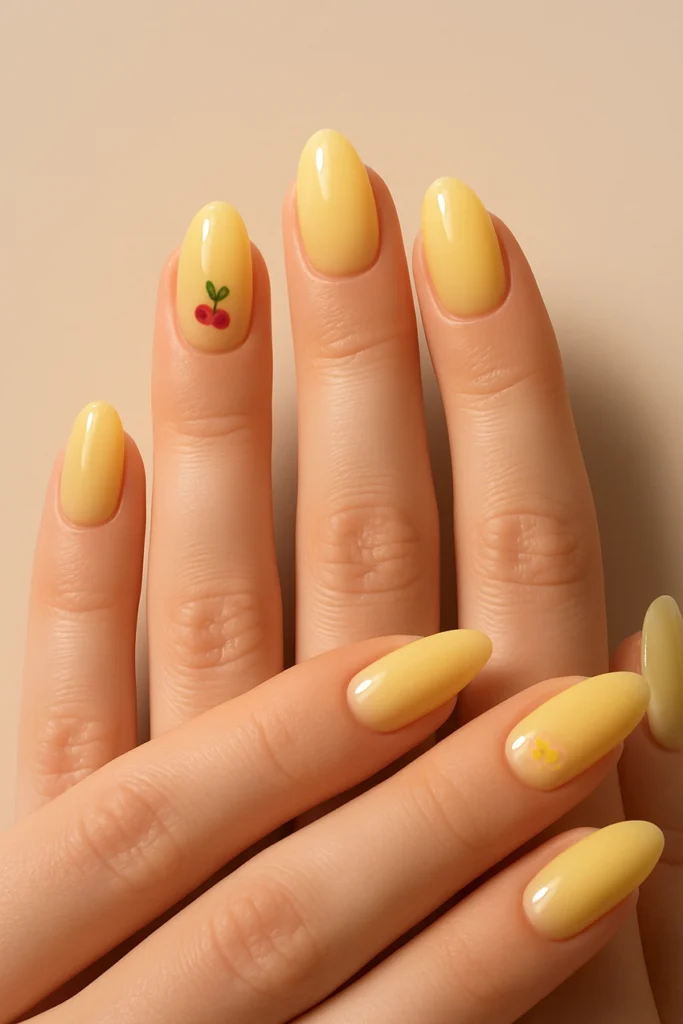
2025 Color and Design Trends
2025 brings subtle elegance and healthy, natural looks. Simplicity is key – clean tones, soft shine, and effortless charm.
Top 2025 shades:
- Natural nude and beige.
- Creamy caramel and latte tones.
- “Lip gloss nails” – sheer pink glow.
- Soft chrome and pearl finishes.
- Deep autumn tones – burgundy, chocolate, olive.
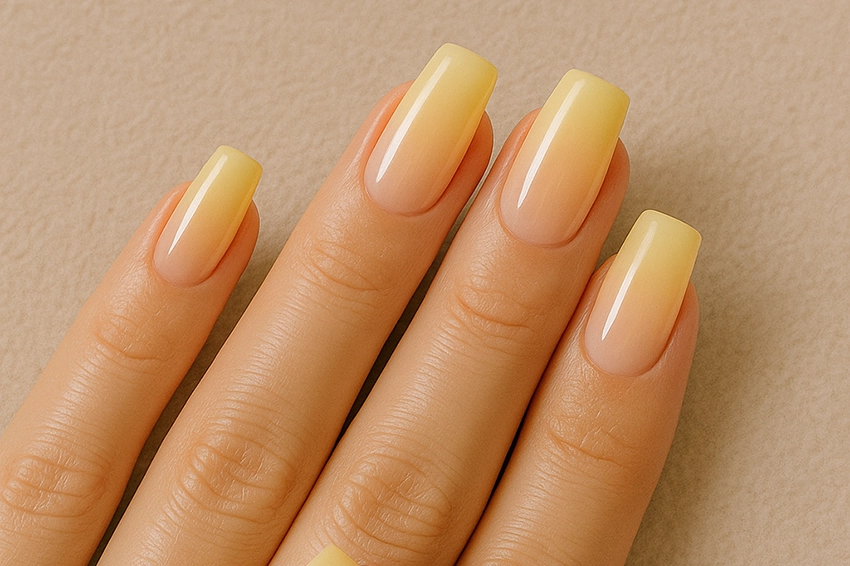
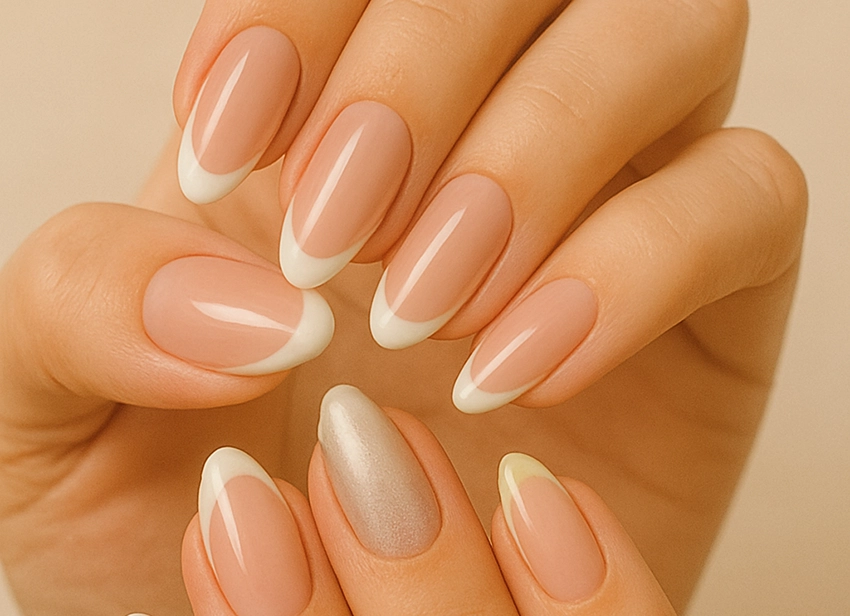
Quick and easy designs:
- Classic French tips.
- Baby boomer ombré.
- Shimmer flakes or foil accents.
- Matte & glossy contrast nails.
Quick FAQ
What wattage should I choose for home use?
A 48W UV/LED hybrid lamp is ideal — cures all products safely and quickly.
What’s the difference between builder gel and polygel?
Polygel is thicker and easier to control, perfect for beginners. Builder gel gives a softer, more flexible finish.
Do I need a nail drill?
Not required, but makes prep and refill much faster.
How long does a beginner kit last?
Around 3–5 months of regular use.
How can I avoid allergic reactions?
Choose HEMA-free products, and never let gel touch the skin.
Conclusion – Choosing the Right Nail Extension Kit in 2025
A well-selected nail extension builder kit makes home manicures simple, safe, and salon-worthy.
Focus on lamp quality, product compatibility, and safety — good tools are a long-term investment.
Beginners should start with a 36–48W hybrid lamp and polygel for easy control.
Advanced users can upgrade to a 3-step gel system, stronger nail drill, and professional HEMA-free gels.
The 2025 trend celebrates natural beauty, soft transparency, and healthy nails — your kit is the foundation to achieve it.
Remember: safety, hygiene, and quality always come before speed.
If you follow these basics, you’ll create salon-level nails right from your home.