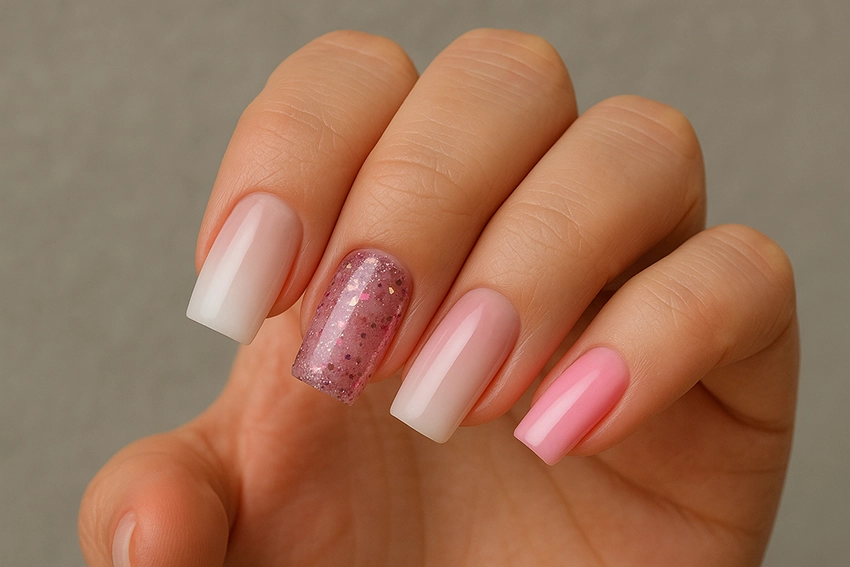
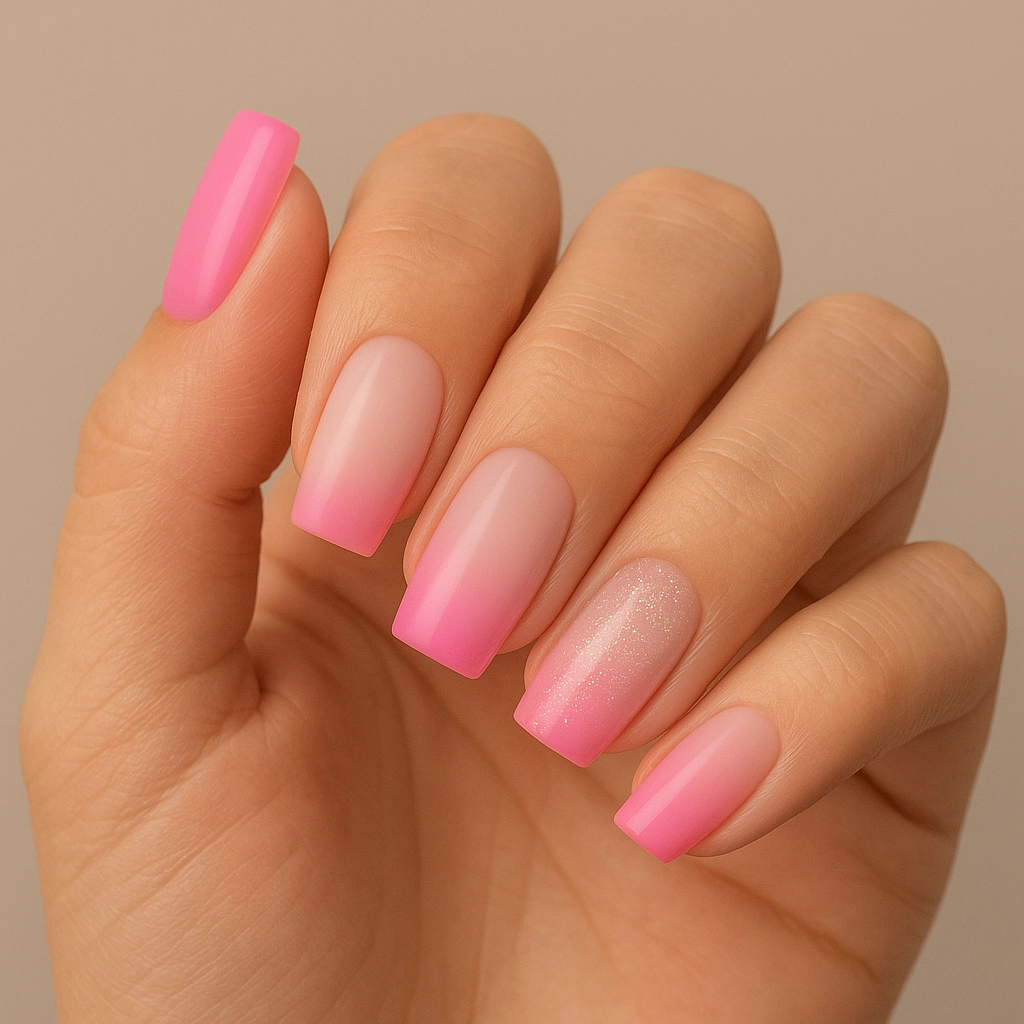
Fusion AcrylGel is a modern, innovative product in the world of nail enhancements. Known for its durability, flexibility, and ease of shaping, it’s a favorite among professionals. However, adhesion problems can occasionally arise. If the product lifts, bubbles, or peels off at the edges, something likely went wrong during application. In this article, we’ll show you how to ensure your Fusion AcrylGel bonds perfectly – step by step.
Why Doesn’t Fusion AcrylGel Adhere Properly?
Common causes include poor nail preparation, using the wrong base gel, applying the product too thickly, or improper curing under UV/LED light. The material itself is highly reliable – most issues stem from technical missteps, which are easy to fix once you know where to focus.
Proper Nail Prep – The Foundation of Strong Adhesion
Fusion AcrylGel will only adhere correctly to a clean, dry, and slightly roughened nail plate. Natural oils, dust, or an overly smooth surface can interfere with bonding.
Start by disinfecting both your hands and nails. Lightly buff the nail surface with a fine file to remove shine, then thoroughly dust off. Next, use a dehydrator or Nail Prep solution to eliminate moisture and oils. Without this crucial step, the product won’t form a secure bond.
Base Layer – Don’t Skip It or Substitute It
Before applying Fusion AcrylGel, always use a compatible base gel. This is key to long-lasting results. Skipping the base or using an incompatible one may lead to lifting within days. Apply the base in a thin layer and cure it thoroughly under a high-quality UV/LED lamp.
Avoid mixing systems – always use products designed to work together for the best results.
UV/LED Curing – Technique Matters
Under-curing or over-curing can both lead to adhesion issues. The curing time for Fusion AcrylGel depends on the thickness of the layer and the power of your lamp. If curing is too short, the inner layers may remain soft and separate from the nail. Over-curing may cause brittleness or even cracking.
Follow the manufacturer’s recommended curing time – usually 60–90 seconds under UV/LED – and adjust for thicker applications by curing in layers.
Application Thickness – Less Is More
Due to its dense, moldable texture, many technicians are tempted to apply Fusion AcrylGel too thickly. This prevents full curing and can cause lifting or peeling.
Work with thinner layers and build structure gradually – including the stress point, apex, and smile line – for lasting results. Cure each layer completely before moving on.
Extra Tips for Perfect Adhesion
- After prepping, avoid touching the nail plate with your fingers.
- Ensure your workspace is free of moisture and floating dust.
- Clean your brush regularly to avoid contamination.
- Always cap the free edge to prevent lifting.
- During filing, be careful not to damage the base layer – this can lead to separation.
Who Is Fusion AcrylGel Best Suited For?
This product is ideal for:
- Beginners who want greater control over the material
- Clients prone to lifting or nail bending
- Those seeking a hybrid solution between gel and acrylic – Fusion AcrylGel offers the best of both
Frequently Asked Questions
Why does Fusion AcrylGel lift after a few days?
The most common reasons are improper prep, thick application, or incomplete curing.
Can I use a different brand’s base gel?
It’s not recommended. The best adhesion comes from using the system’s own compatible base.
Will it cure with a standard UV lamp?
Possibly, but most Fusion formulas require UV/LED light. Using a proper lamp ensures even, effective curing.
Key Takeaways for Fusion AcrylGel Adhesion
Perfect adhesion starts with proper nail prep, controlled product application, and accurate curing. Even the best product won’t deliver long-lasting results if these steps are overlooked. But when applied correctly, Fusion AcrylGel creates salon-quality, durable nails that last for weeks.
