Builder gel is one of the most popular materials for building artificial nails, and it allows you to create salon-quality nail art at home. Whether you want to strengthen your natural nails, add length, or simply try your hand at gel building, you’re in the right place. In this post, we’ll walk you through the steps of using builder gel at home, explain how to avoid common mistakes, and help you choose the right products for the best results.
What Is Builder Gel and Why Is It So Popular?
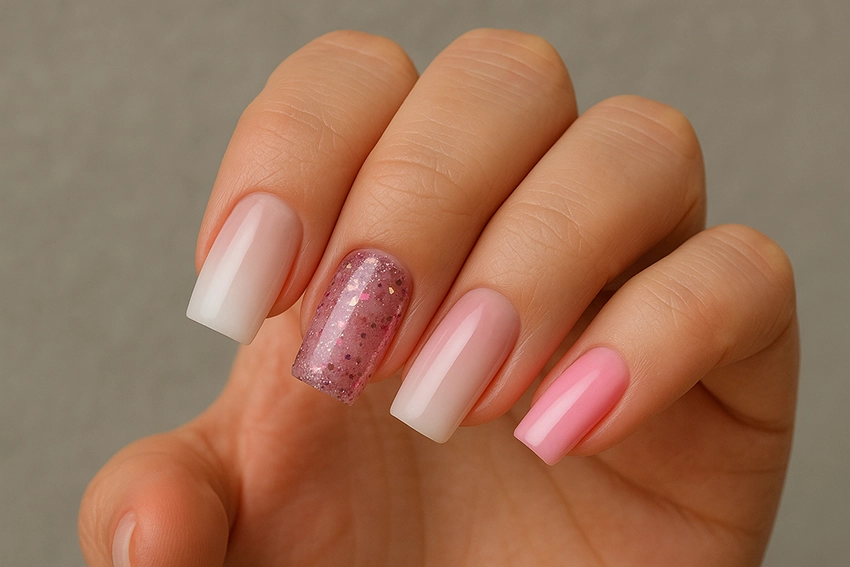
Builder gel is a thick, UV or LED curing nail product used to create strong, shapable, natural-looking nails. It’s ideal for extending the nail length, repairing broken nails, or reinforcing weak natural nails. Builder gels come in various shades and consistencies, such as clear, milky, or soft pink. Their biggest advantage is that they are highly moldable and allow for customized, long-lasting nail art.
How to Apply Builder Gel at Home – Step by Step
Creating beautiful and long-lasting builder gel nails at home is possible with the right technique and sequence. Follow these steps for professional-looking results.
Nail Prep Before Applying
Proper nail preparation is key to success. Start by removing any previous polish or product residue. Shape your nails with a nail file, then gently buff the surface with a buffer to remove shine and allow the gel to adhere better. Next, use a nail dehydrator to remove oils, followed by a primer to enhance adhesion. Skipping these steps often leads to lifting or peeling.
Applying and Shaping the Gel
Depending on the type of builder gel you’re using (self-leveling or traditional), your technique may vary slightly. If you’re using a nail form for lengthening, place it carefully under the natural nail. Pick up a small bead of gel and apply it to the center of the nail. Shape the gel with a brush, building a natural arch (C-curve) and spreading the gel evenly toward the edges without touching the cuticle. Then cure under a UV/LED lamp – make sure your lamp is strong enough (at least 48W) to fully cure the product.
Filing and Finishing
After curing, the gel will remain sticky. Remove this residue with a cleanser. Shape the nails using a file, and then refine the surface with a buffer for a smooth finish.
Color or Top Coat Application
You can leave the nails with a natural gel look or apply color gel polish for a finished style. To seal the surface, apply a top coat – either shiny or matte – and cure again. This final step protects the nail and adds a polished, long-lasting result.
Common Mistakes to Avoid When Using Builder Gel
Builder gel application at home can be tricky at first. Avoid these common pitfalls:
- Inadequate nail prep leads to poor adhesion.
- Applying too thick a layer causes bubbles or gel run-off.
- Using a weak lamp results in undercured gel that stays soft inside.
- Letting gel touch the skin may cause lifting or allergic reactions.
Choosing the Right Builder Gel as a Beginner
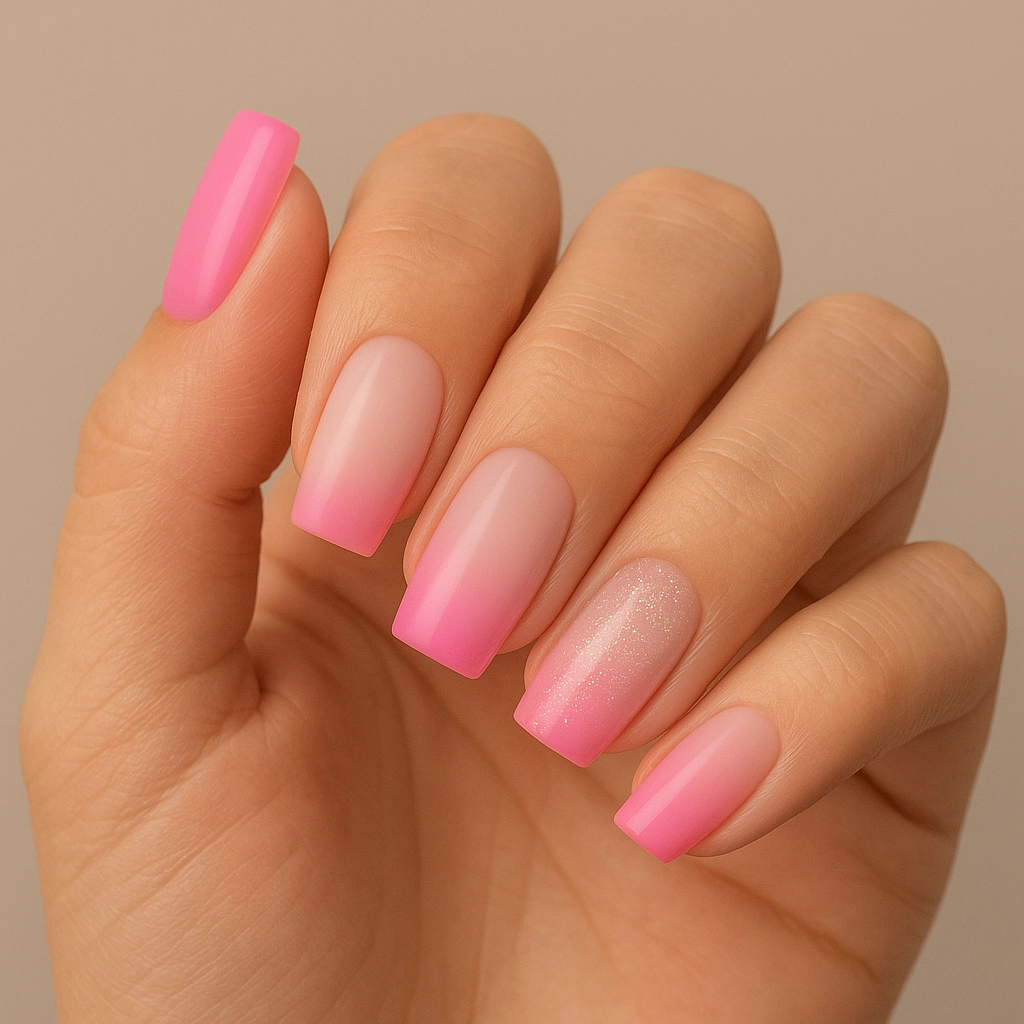
If you’re new to using builder gel, start with a self-leveling formula – it’s easier to handle. Go with clear or soft pink colors for a more forgiving application. Also, ensure your UV/LED lamp is at least 48W to guarantee proper curing.

A Real-Life Story – How Many People Begin
Imagine a quiet Saturday afternoon: you decide to do your own nails for the first time. You’ve bought everything you need, but your hand shakes a little. The first nail form is hard to apply, and your gel runs to the side. Still, you keep going. By the second nail, your motions are smoother. The results get better and better. That sense of achievement – of creating something beautiful on your own – is what draws so many into DIY builder gel nail art.
Who Should Use Builder Gel?
Builder gel is a great choice if you:
- Want strong, long-lasting nails
- Have brittle or damaged nails that need reinforcement
- Prefer longer nails with a sculpted look
- Enjoy creative, hands-on beauty routines
Frequently Asked Questions About Builder Gel
How long does it take to do builder gel nails at home?
If you’re new, plan for 2 to 2.5 hours, but with practice, you’ll get faster.
Can I use builder gel just to strengthen my natural nails?
Absolutely. Many people use it without extending the length.
Why does my gel get bubbles?
You may be applying it too quickly or using an airy motion. Try applying slowly and smoothly.
Why does the gel lift after a few days?
The most common causes are poor prep or a lamp that isn’t strong enough to cure the gel fully.
Key Takeaways
Using builder gel at home isn’t just about pretty nails – it’s also a fun, creative hobby. The keys are patience, proper technique, and the right tools. Remember, even the pros started somewhere. With each try, your skills will grow – and your nails will show it.